7 Simple Steps to Build Greenhouse: Create Your Dream Space!
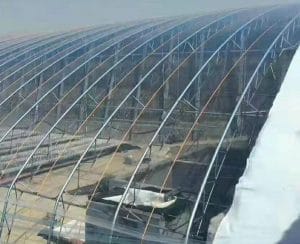
Building a greenhouse is a rewarding project that allows you to extend growing seasons, protect plants from harsh weather, and create a controlled environment for diverse crops. Below is a comprehensive, step-by-step guide on how to build greenhouse covering planning, design, materials, construction, and post-build setup—suitable for both beginners and intermediate DIYers.
When you plan to build greenhouse structures, consider factors like size and materials that match your growing needs. This helps ensure that your greenhouse will be effective and sustainable.
1. Pre-Construction Planning: Lay the Foundation
1.1.2 Benefits of Build Greenhouse
There are numerous benefits to build greenhouse, including the ability to control temperature and humidity levels, which can lead to better crop yields and healthier plants.
1.1.1 How to Build Greenhouse: Define Your Goals
Before picking up tools, clarify key details to avoid costly mistakes. This phase determines the greenhouse’s functionality and longevity.
1.1 Define Your Goals
Your purpose will shape size, design, and features. Ask:
- What will you grow?
- Leafy greens/herbs: Small to medium greenhouse (6×8 ft to 10×12 ft) with basic ventilation.
- Tomatoes/peppers: Need taller structures (8–10 ft ceiling) and support for climbing.
- Tropical plants (e.g., orchids): Require insulation, heating, and humidity control.
- How long will it be used?
- Seasonal (spring–fall): Focus on ventilation and shade.
- Year-round: Prioritize insulation, heating, and lighting.
- Budget range?
- DIY low-cost: $500–$2,000 (using repurposed materials or kits).
- Premium/custom: $3,000–$10,000+ (insulated panels, automated systems).
1.2 Choose the Right Location
Sunlight is non-negotiable—most plants need 6–8 hours of direct sunlight daily (morning sun is ideal, as afternoon sun can overheat the space). Avoid:
- Shady areas (e.g., under large trees, next to tall buildings).
- Low-lying spots (prone to waterlogging; roots rot easily).
- Windy zones (exposed areas increase heat loss and risk structural damage).
Pro Tip: Use a compass to mark the greenhouse’s orientation—east-west length (long sides face north-south) maximizes sunlight exposure.
1.3 Check Local Codes & Permits
Many areas require permits for structures over 100 sq ft (or specific heights). Contact your local building department to confirm:
- Setback rules (distance from property lines).
- Electrical codes (if adding heating/lighting).
- Wind/snow load requirements (critical for regions with harsh winters).
2. Greenhouse Design: Pick a Style & Size
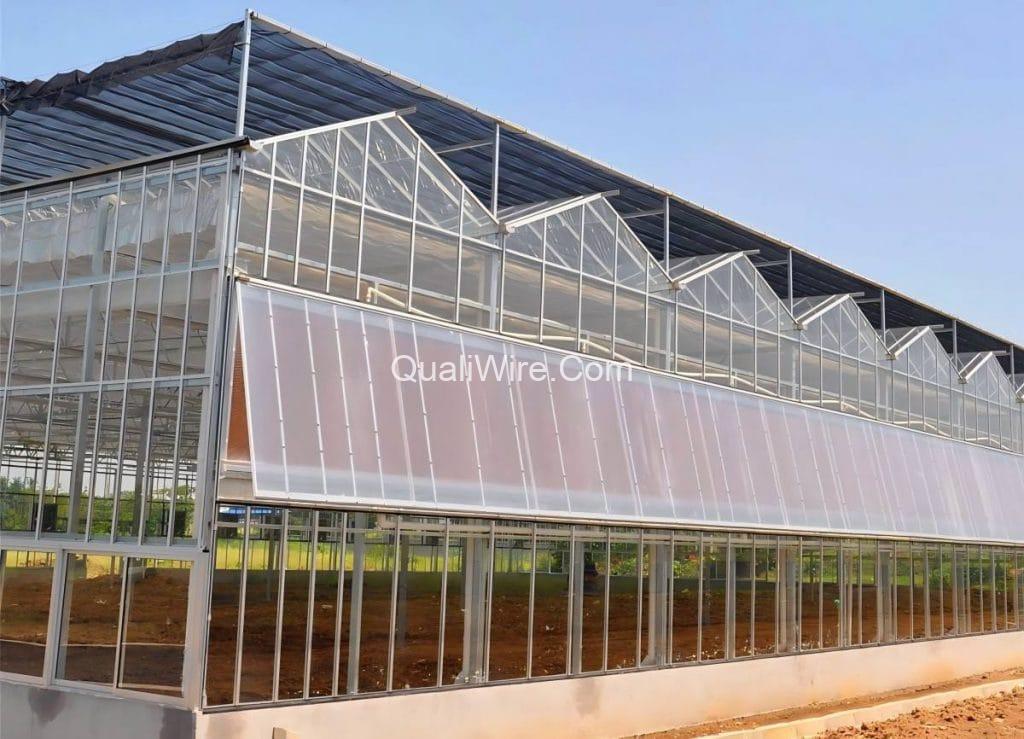
The design balances functionality, climate, and aesthetics. Below are the most popular styles for home use:
When you decide to build greenhouse, consider your budget upfront. This will help you choose between DIY options and purchasing a pre-built structure.
| Style | Best For | Pros | Cons |
|---|---|---|---|
| Gable | Most climates; year-round use | Simple to build; good ventilation; max light | Less wind-resistant than hoop styles |
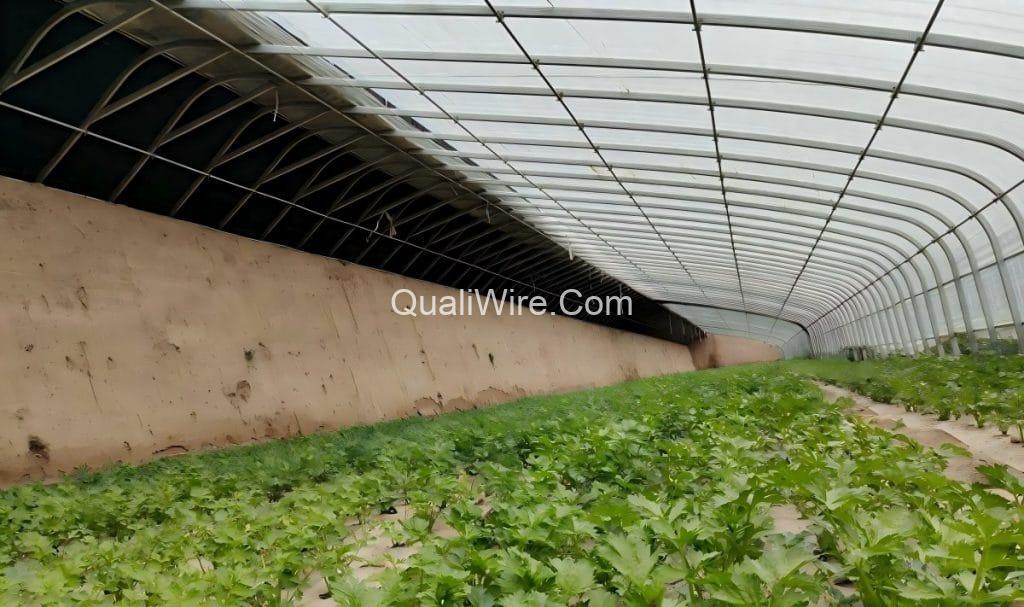
| Hoop (Quonset) | Small gardens; seasonal use; windy areas | Low cost; wind/snow sheds easily; easy to expand | Limited height (not ideal for tall plants); poor insulation |
| Lean-To | Small spaces; against houses/garages | Uses existing structure (saves materials); easy to heat | Limited sunlight (depends on house orientation); small size |
| Polycarbonate Panel | Year-round use; cold climates | Insulated (retains heat); durable (resists hail); light-weight | Higher cost than plastic/glass; can yellow over time |
Choosing a sunny location to build greenhouse is crucial, as it maximizes the amount of sunlight your plants receive, enhancing their growth.
Standard Sizes (for Home Use)
- Small: 6×8 ft (herbs, seedlings)
- Medium: 8×12 ft (tomatoes, peppers, greens)
- Large: 10×16 ft (multiple crops, fruit trees)
Rule of Thumb: Don’t oversize—larger greenhouses are harder to heat/cool and require more maintenance.
3. Gather Materials: Structure & Covering
The right materials balance durability, cost, and climate needs. Focus on two core components: the frame and covering.
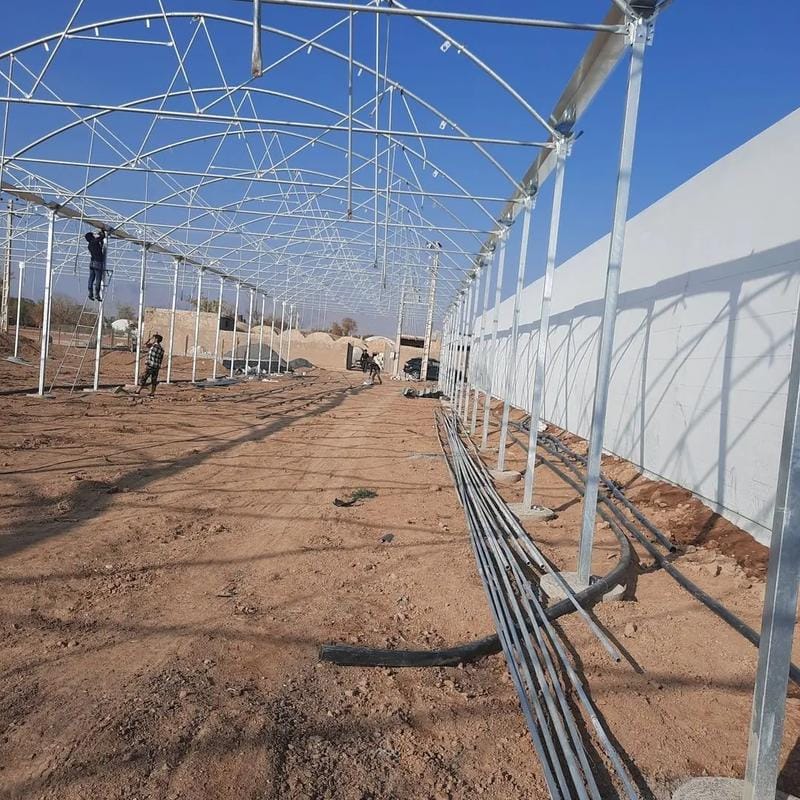
3.1 Frame Materials
The frame supports the covering and must withstand wind, snow, and weight (e.g., hanging plants).
| Material | Cost | Durability | Best For |
|---|---|---|---|
| Pressure-Treated Wood | Low-Med | 10–15 years (resists rot) | Gable/lean-to styles; DIY beginners |
| Aluminum | Med-High | 20+ years (rust-proof) | All styles; year-round use; low maintenance |
| Galvanized Steel | Med | 15+ years (strong) | Hoop styles; windy/snowy climates |
| PVC Pipe | Low | 3–5 years (fragile in cold) | Temporary hoop greenhouses; seasonal use |
Note: For wood frames, use pressure-treated lumber (avoids rot from moisture) and stainless-steel screws (prevents rust).
3.2 Covering Materials
The covering controls light, heat, and insulation. Choose based on your climate and budget:
| Material | Cost | Light Transmission | Insulation | Durability | Best For |
|---|---|---|---|---|---|
| Polyethylene Plastic (Film) | Low | 80–90% | Poor (heats/cools fast) | 1–3 years (fades/rips) | Seasonal hoop greenhouses; temporary use |
| Double-Layer Polycarbonate | Med | 70–85% | Excellent (retains heat) | 10–15 years (hail-resistant) | Year-round use; cold climates |
| Tempered Glass | High | 90–95% | Moderate | 20+ years | Permanent greenhouses; aesthetic appeal |
| Acrylic Panels | High | 85–90% | Good | 15+ years (light-weight) | Premium designs; areas with hail |
When you build greenhouse, think about how it will blend into your yard or garden—this can impact your overall landscaping.
Pro Tip: For cold climates, use double-layer polycarbonate—it traps heat better than single-layer plastic/glass and avoids condensation.
Different styles available for you to build greenhouse can cater to a variety of growing conditions and aesthetics, allowing flexibility in design.
3.3 Tools & Additional Supplies
Build Greenhouse: Essential Considerations
- Basic tools: Tape measure, level, drill, saw, hammer, shovel.
- Foundation: Gravel, concrete blocks, or pressure-treated skids (prevents frame rot from ground moisture).
- Ventilation: Hinged vents, exhaust fans, or roll-up sides (critical for preventing overheating).
- Sealing: Weatherstripping, silicone caulk (seal gaps to retain heat).
4. Step-by-Step Construction Guide
Follow these steps for a gable-style greenhouse (the most beginner-friendly design). Adjust for other styles as needed.
To successfully build greenhouse, gather the right materials for both the frame and covering to ensure durability and longevity.
Step 1: Prepare the Site
Before you build greenhouse, educate yourself about the best materials for your specific climate and conditions, as this will affect the greenhouse’s performance.
- Mark the greenhouse’s outline with stakes and string. Ensure the area is level (use a long level or laser level).
- Clear vegetation, rocks, and debris.
- Build the foundation:
- Simple option: Lay pressure-treated skids (4×4 ft) along the outline, or place concrete blocks at each corner (raises the frame off the ground).
- Permanent option: Pour a concrete slab (ideal for year-round use, but increases cost/time).
Step 2: Build the Frame
Start with the base frame (floor support), then add walls and roof rafters.
- Base Frame:
- Cut 4 pressure-treated 2x4s to match the greenhouse’s length and width (e.g., 8 ft and 12 ft for an 8×12 ft greenhouse).
- Assemble into a rectangle, using 3-inch wood screws. Check for square (measure diagonally—both sides should be equal).
- Attach the base to concrete blocks or skids (drill screws through the frame into the foundation).
- Wall Frames:
- Cut 2x4s for wall studs (space them 16 inches apart, center-to-center—standard for structural support).
- Build two end walls (gables): Each end will have a triangular top (rafter support). Cut a 2×6 for the top plate (runs along the peak) and attach studs vertically from the base to the top plate.
- Build two side walls: Attach vertical studs to the base frame and top plate (keep walls 8 ft tall for most crops).
- Stand walls upright and secure them to the base frame with screws. Use temporary braces to keep walls straight.
- Roof Rafters:
- Cut rafters from 2x6s (use a rafter square to mark the angle for the peak). The number of rafters depends on width—space them 16 inches apart.
- Attach rafters to the top plates of the end walls (create a triangular roof). Add a ridge beam (2×6) along the peak to connect rafters.
- Install roof sheathing (1/2-inch plywood) over rafters—this adds stability and provides a surface for the covering.
Step 3: Install the Covering
- Prepare the covering: Cut polycarbonate panels or plastic film to fit the roof and walls, leaving 1–2 inches of overlap at seams (prevents leaks).
- Attach to walls:
- For polycarbonate: Use aluminum U-channels (to secure edges) and self-tapping screws (with washers to prevent cracking).
- For plastic film: Use furring strips (1x2s) to press the film against the frame, then screw through the strips into the frame (avoids tearing the film).
- Attach to roof: Repeat the process for the roof. Ensure the covering slopes downward to shed rain/snow.
- Seal gaps: Use silicone caulk around edges and seams to prevent heat loss and water intrusion.
Step 4: Add Essential Features
- Doors: Install a hinged door on one end wall (use weatherstripping to seal gaps). Ensure it’s wide enough for a wheelbarrow (30–36 inches).
- Ventilation:
- Add 1–2 hinged vents on the roof (hot air rises, so roof vents release heat).
- For larger greenhouses, install an exhaust fan (with a thermostat) to automate cooling.
- For hoop houses, add roll-up sides (use PVC pipes and rope to roll plastic up/down).
- Shelves/Benches: Build wooden or metal shelves along the walls (30–36 inches tall) for seedlings. Add a central bench for larger plants.
- Irrigation: Install a soaker hose or drip system (avoids wetting leaves, which reduces disease risk).
Make sure to have all your tools ready before you start to build greenhouse, so the process goes smoothly without interruptions.
5. Post-Build Setup: Optimize the Growing Environment
Once construction is complete, fine-tune the space to support plant health.
5.1 Temperature Control
- Heating (for cold climates): Use a space heater (electric or propane) with a thermostat (keep nighttime temps above 40°F for most crops). For year-round use, insulate walls with foam board.
- Cooling (for hot climates): Add shade cloth (50% density) over the roof to block excess sun. Use exhaust fans or roll-up sides to circulate air.
5.2 Soil & Growing Beds
- Use raised beds (12–18 inches tall) filled with a mix of compost, topsoil, and perlite (improves drainage).
- Avoid planting directly in the ground (risk of waterlogging and pests).
5.3 Lighting (for Winter)
- Add LED grow lights (6500K for seedlings, 3000K for flowering plants) to supplement sunlight during short winter days. Run lights for 12–14 hours daily.
6. Maintenance Tips
The time spent preparing the site for your build greenhouse will pay off in the long run by providing a stable foundation.
- Inspect the covering yearly: Repair tears in plastic film with duct tape; replace yellowed polycarbonate panels.
- Clean the covering: Wash glass/polycarbonate with a mild soap solution (removes dust, which blocks light).
- Check for pests: Seal cracks in the frame to keep out rodents. Use insect netting over vents to prevent aphids and whiteflies.
- Winterize: Remove plastic film from seasonal hoop houses; add extra insulation (e.g., bubble wrap) to year-round greenhouses.
By following this guide, you’ll build greenhouse a functional greenhouse that suits your needs and helps you grow healthy plants year-round. Start small, and adjust the design as you gain experience!
Follow a logical order when you build greenhouse, starting from the foundation to the covering, to ensure that each step supports the next.
When you install the covering, take care to ensure a tight seal to maintain the temperature inside your build greenhouse.
It’s essential to monitor the environment inside your build greenhouse, as temperature and humidity can greatly affect plant health.
Lastly, be sure to regularly maintain your build greenhouse to ensure its efficiency and longevity for years to come.
By following these steps, you will know how to build greenhouse effectively and efficiently, ensuring you have a thriving growing space.



Comments are Closed